How to Make Halloween Trick-or-Treating Bags & Treats
A fun project to make each year's Halloween special is a trick-or-treating bag. I've made a few before that I'll be sharing pictures of today, two of which I loved how they turned out and one year's was a "This didn't work so well but I'm going to just wing it and keep going because I've spent the money and time already" kind of evening.
I'm pulling from my original post last year about How to Make A Halloween Trick or Treating Bag so you'll see some of the same content below from those bags in 2014, plus pictures of the bags I made in 2015 (the semi-fails), and the bags from 2016.
Halloween Bags
2014
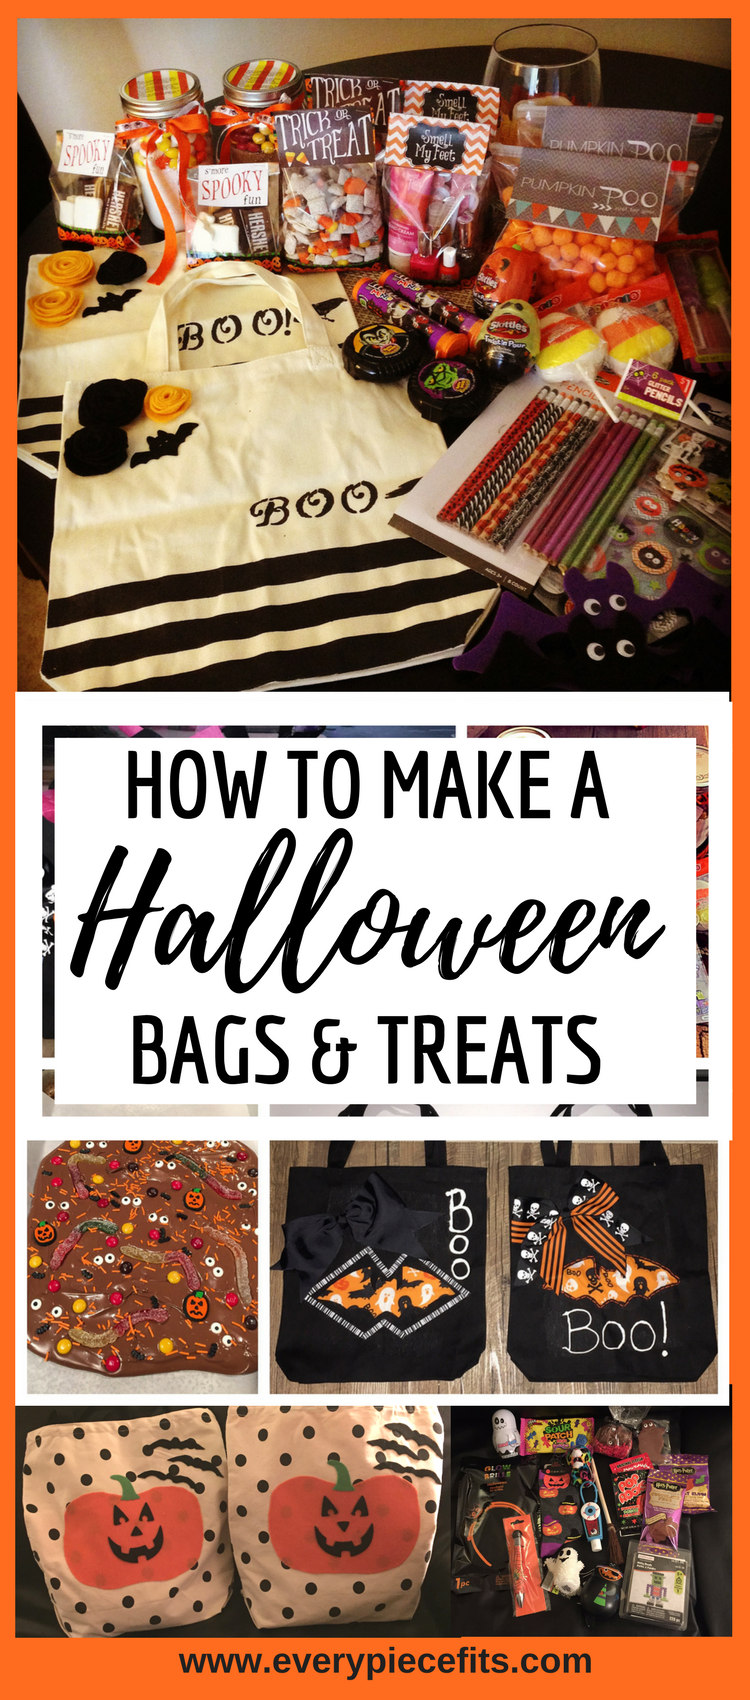
I purchased my plain canvas bags from Michael's using a coupon (recommended method, they're inexpensive there) as well as the fabric paint, tape, rubber crow stamp and letters to spell out B-O-O, black and orange felt swatches, pre-made felt bats, and hot glue gun. You can also find the canvas bags on Amazon if you're making multiples.
Using the tape and a ruler - I spaced out the tape into straight rows across the bottom of the bags. I placed a piece of cardboard inside of the bags to prevent the paint from bleeding through the fabric to the back of the bag. ***THIS IS IMPORTANT!***
While the paint was drying, I cut out the strips of felt fabric, plugged in the hot glue gun, and began to twirl the felt fabric around and around to create a felt flower. I carefully applied a thin layer of hot glue along the rows of felt on the bottom of the flower to help keep it together but be careful not to apply too much as it will cause the flower to stick up off of the bag.
Now you can lay the attachments on top of the bag to figure out which layout looks best to you. I fiddled with the layout of the flowers and bat for a few minutes to assess what I liked best. Once you have your idea in mind, you can begin to hot glue the felt flowers onto the bags. I intentionally made opposite colored flowers for the bags so that they would be a little different.
I removed the tape when I was confident the paint was dry enough, then added the stamped letters to spell out BOO and added the crow stamp. This was difficult because I had to eyeball-estimate spacing out the letters. After stamping the first bag I also decided I didn't like the exclamation point after BOO so eliminated that on the 2nd bag.
My crow stamp worked better on this bag!
2015
I'll breeze through this year's bags as an honorable mention - for the effort.
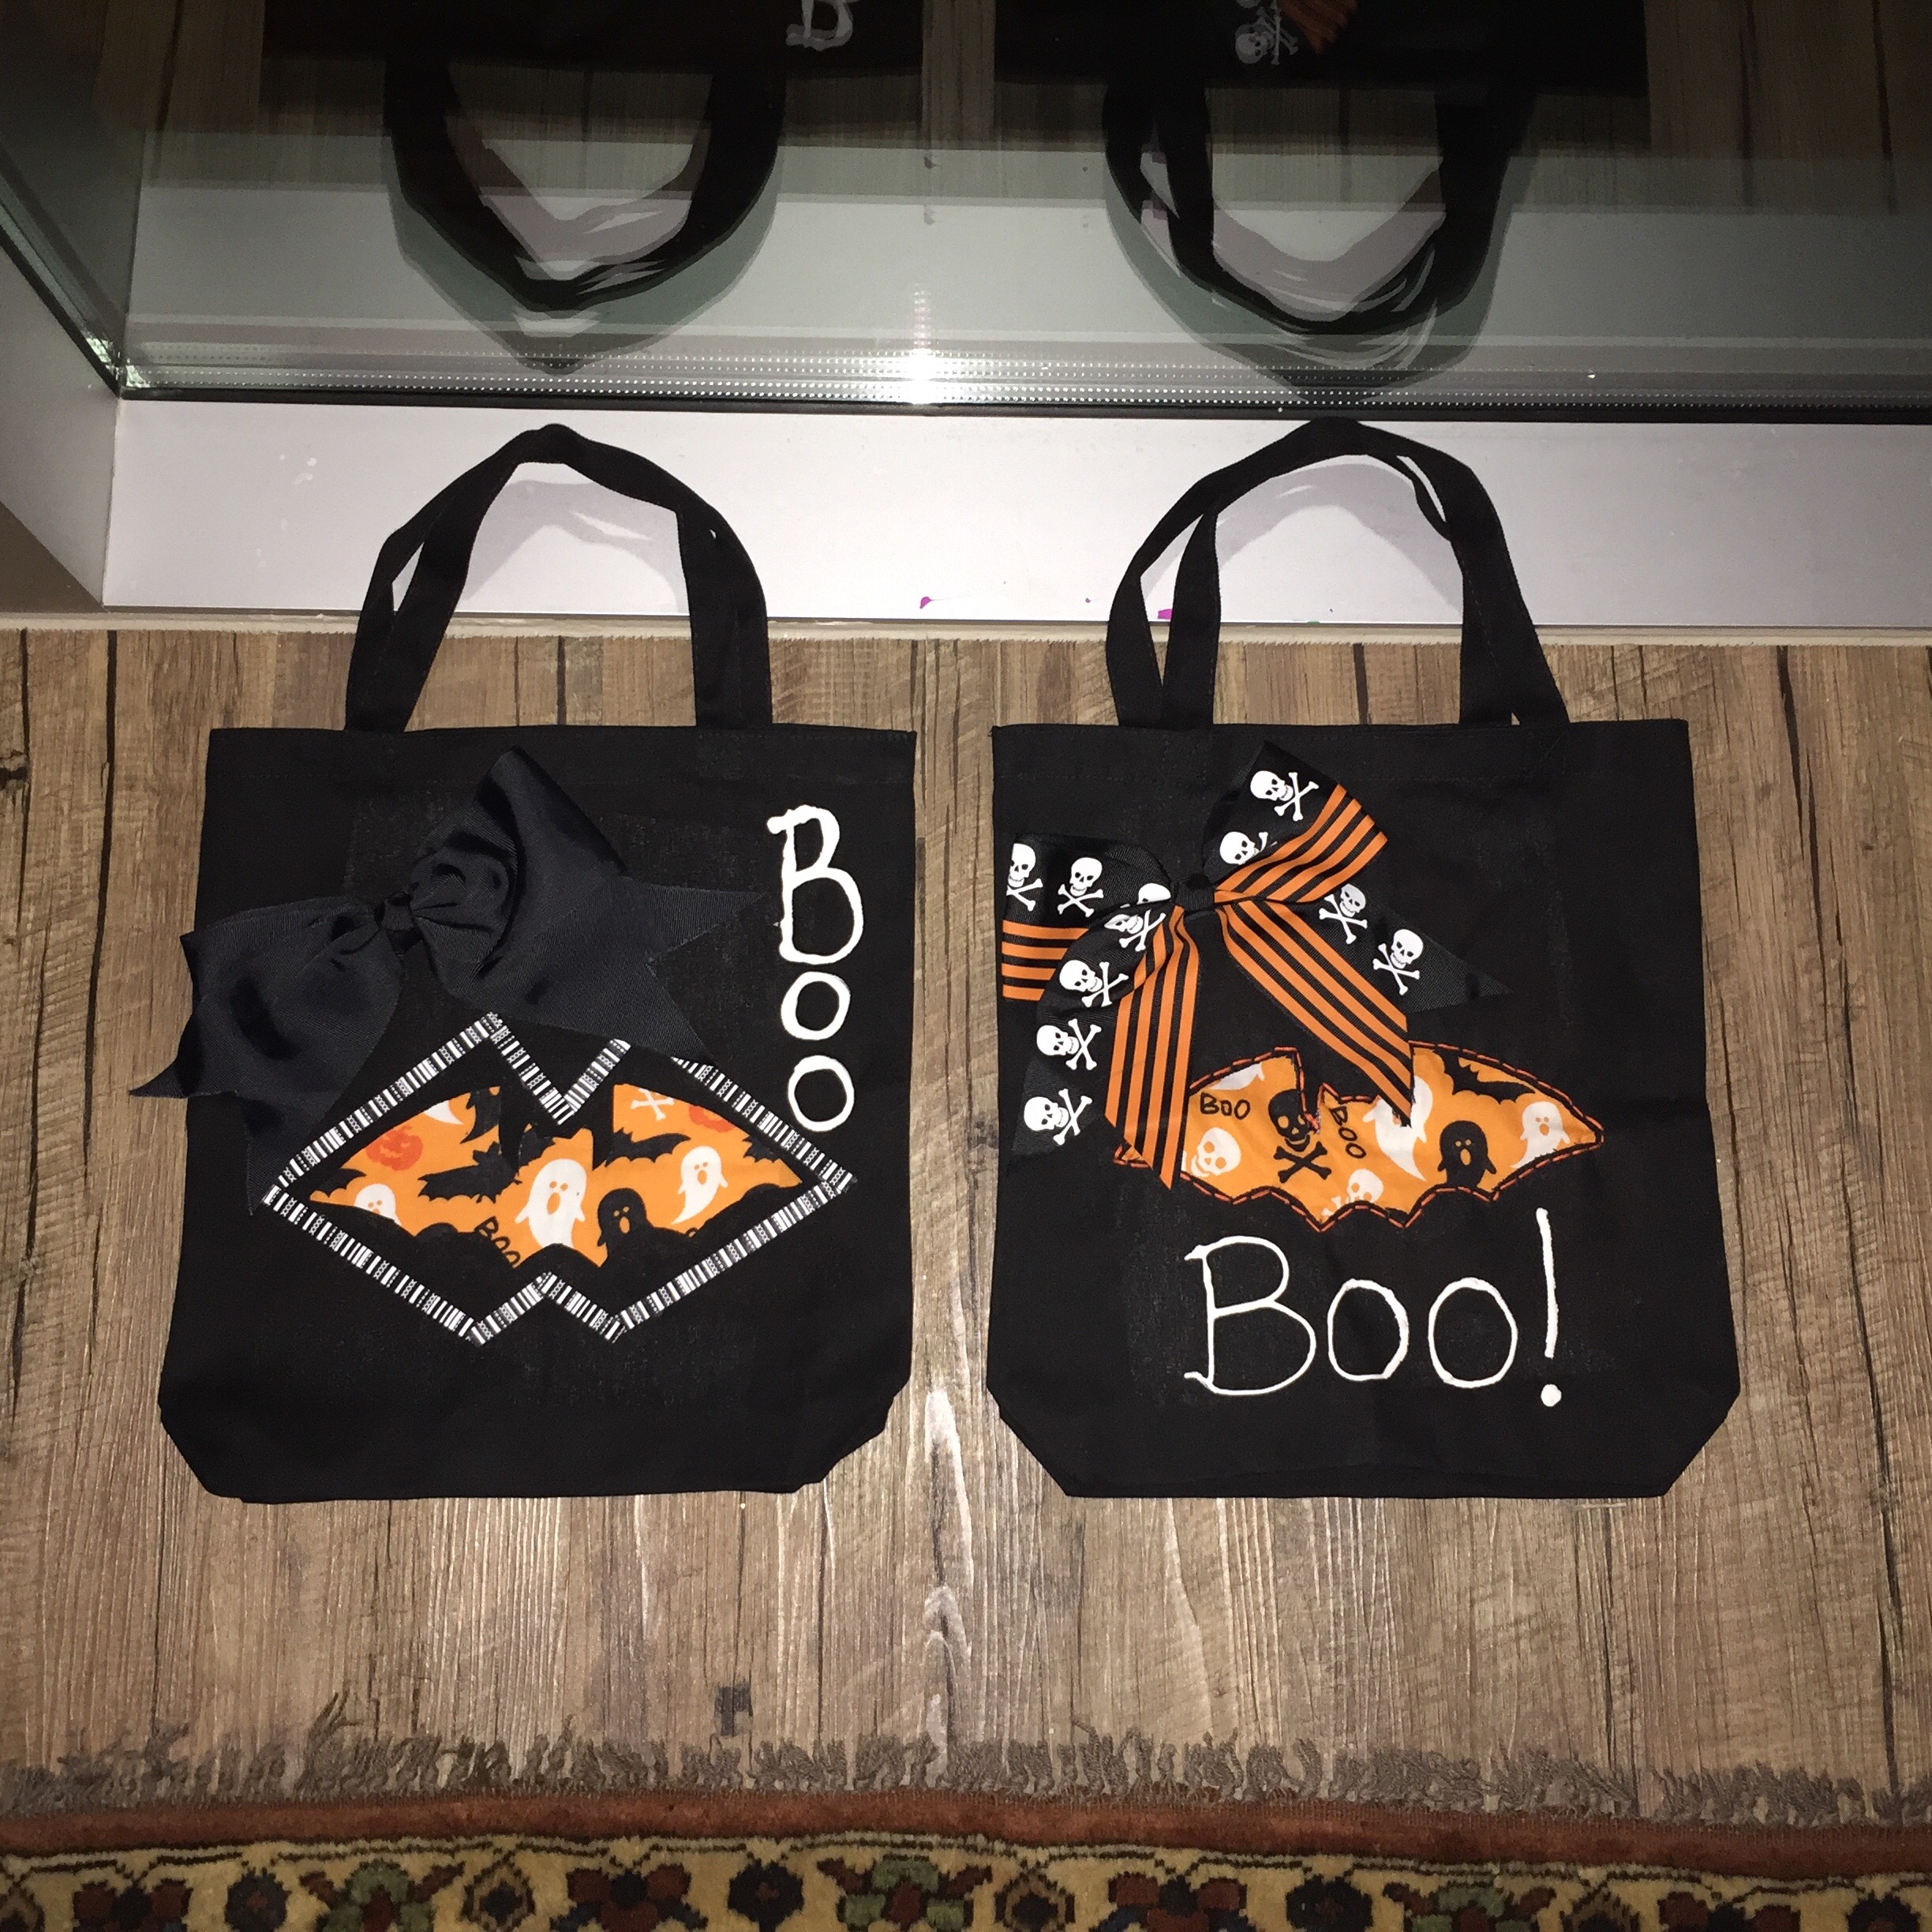
I purchased black canvas bags from Michael's, some iron on transfers, puffer paint, hair bows, and Halloween bandannas for fabric. The iron on transfers didn't take on the canvas and burned a hole in the bag. Thankfully, I had bought a four pack even though I was making two! So, I traced and cut out bats on the bags. I hand stitched the first bandanna onto one of the bags, but that took a while and was very difficult to keep the fabric taught to look nice. So, lazy me decided to glue the second bandanna onto the second bag. I don't remember why I added the extra ribbon around it other than to distract from the un-hemmed fabric I guess. I attached the bows and wrote on the bags with puffer paint and said "oh well" to myself. The liklihood of the bags being used versus just being nice gift bags that year felt small enough that I didn't want to start over. =/
2016
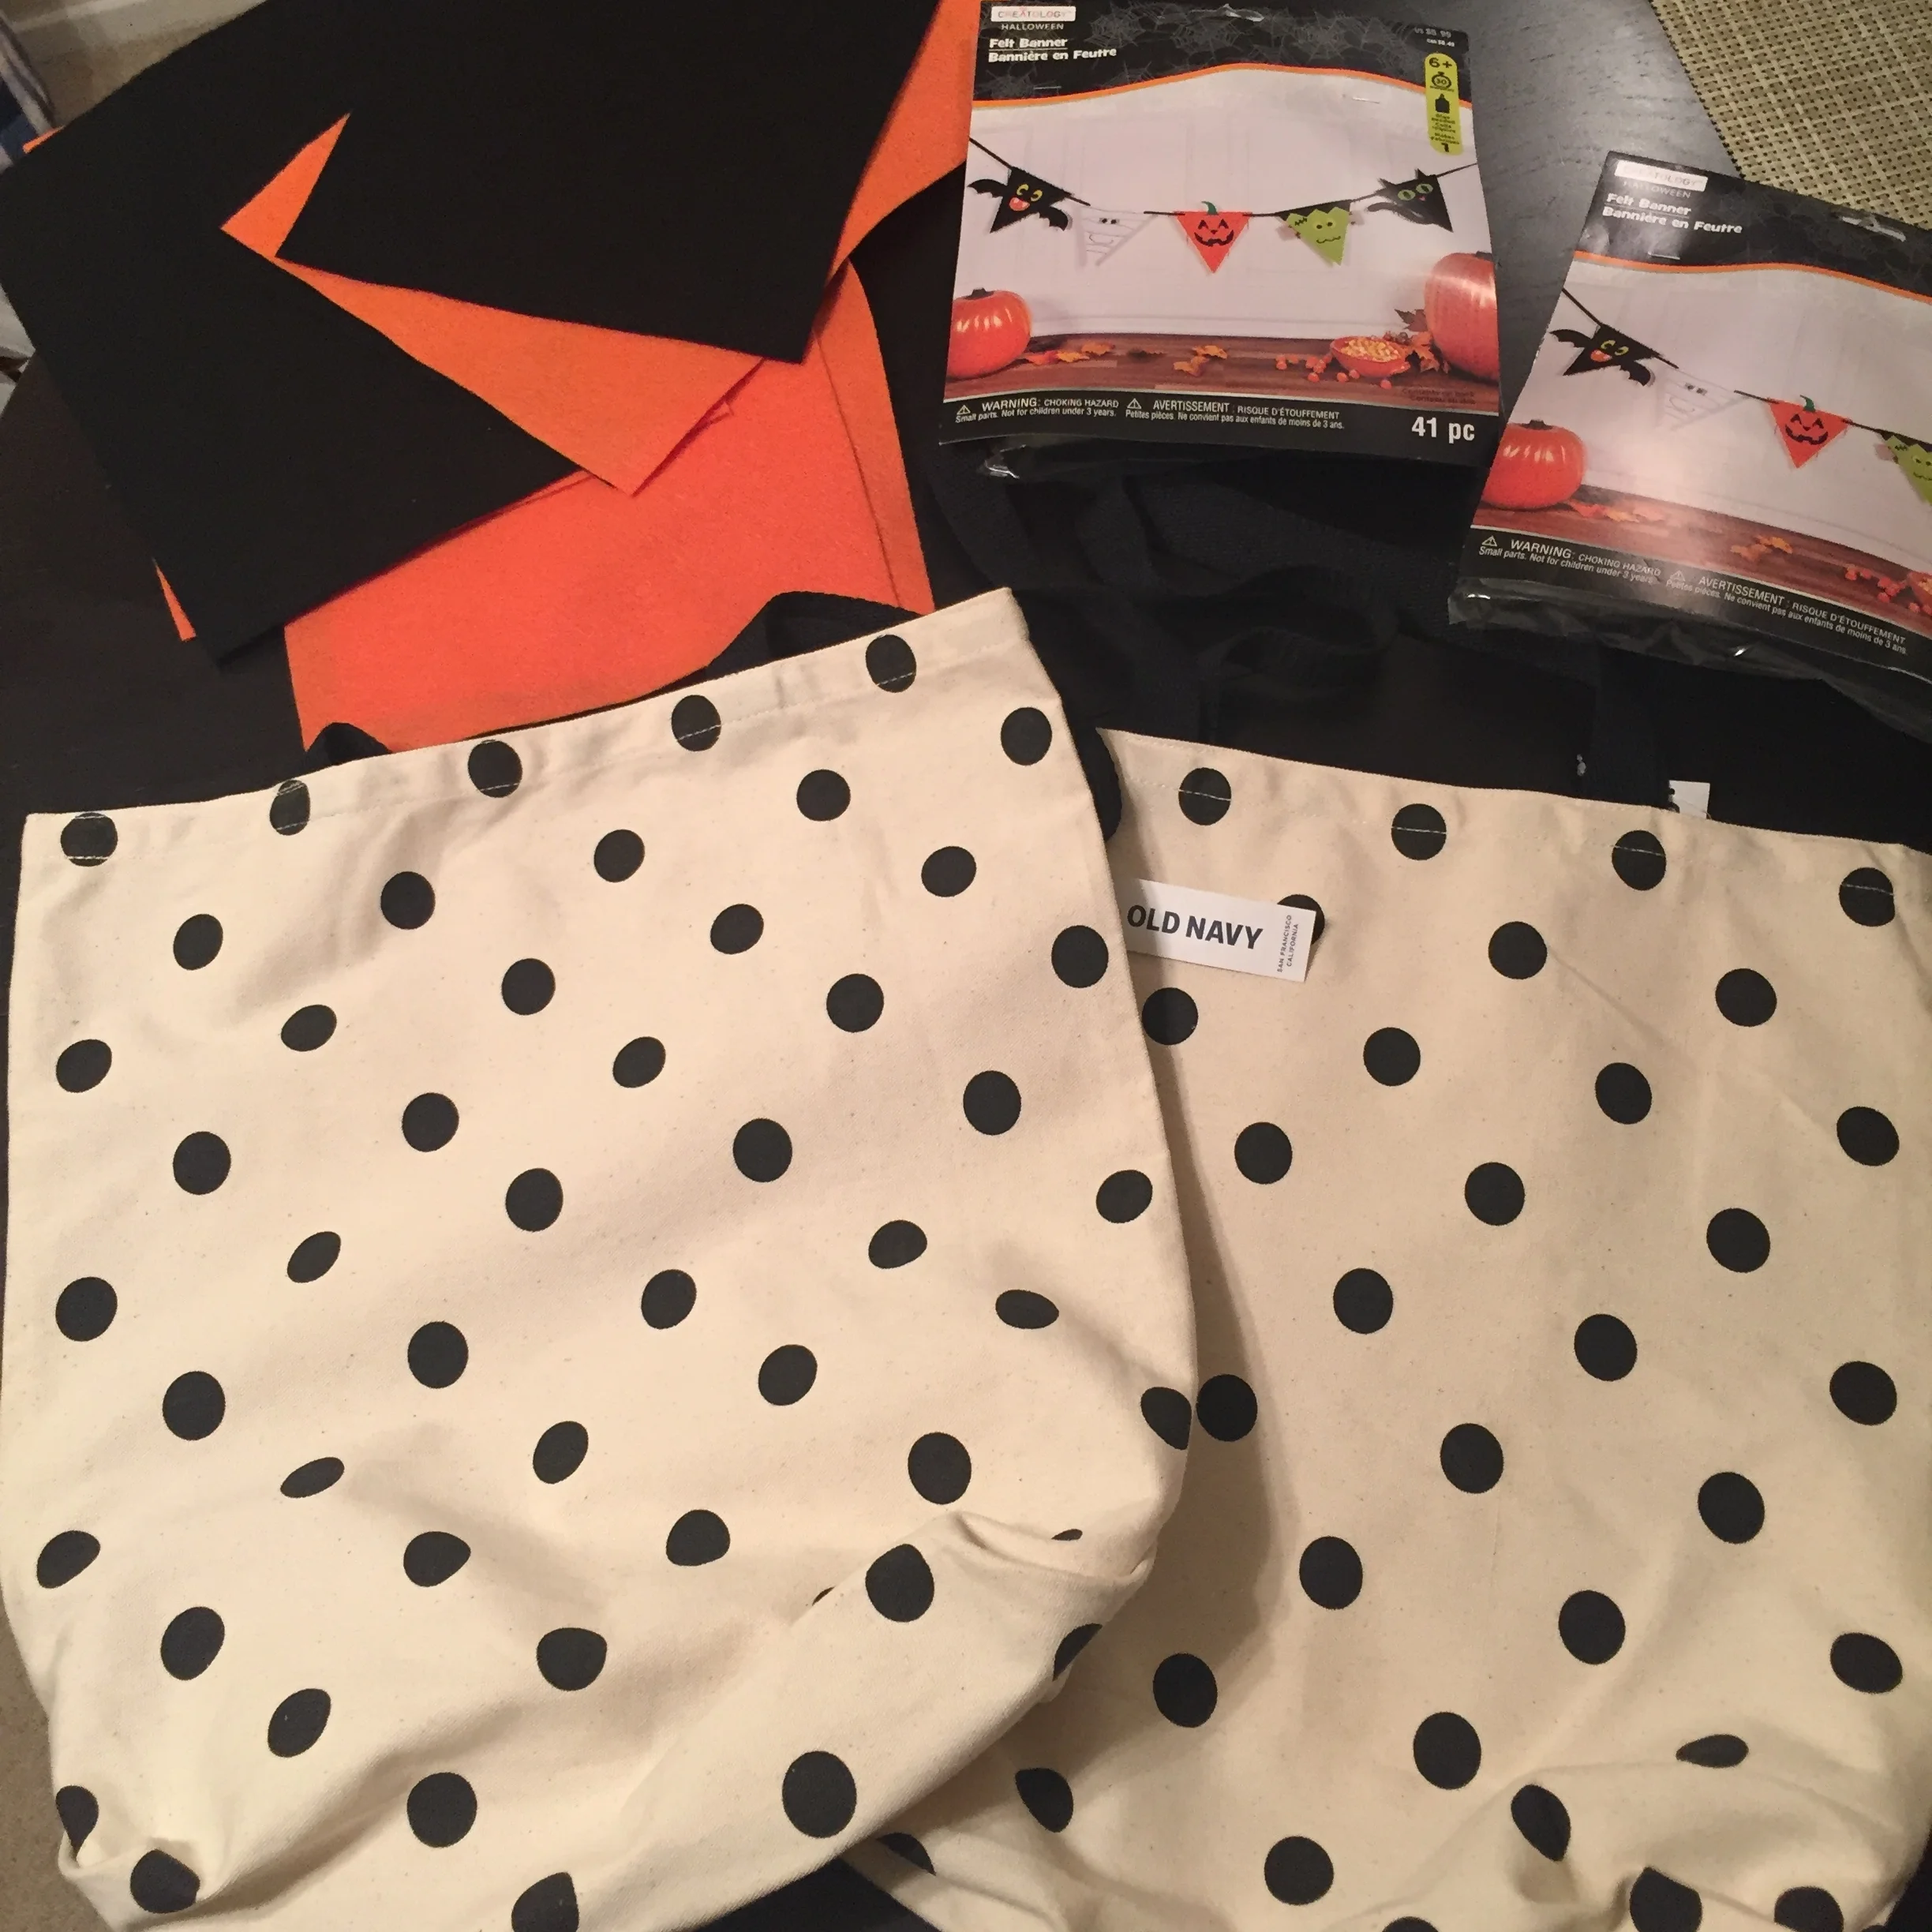
In 2016 I was very pleased to pass by some black polka dotted canvas bags at Old Navy for $5 or so, and snatched them up pronto! I thought these would make the perfect canvas for a Halloween bag. ;) I wanted to keep the project simple last year (after the 2015 debacle) so I picked up some black and orange felt, and a couple of felt banners from Michael's knowing I could pull some things from the pre-made banners and still use the banners are actual Halloween decor. #doublewin #smartshopping
I pulled out the pre-cut jack-o-lantern face & stems from the banner packages, cut out my own pumpkins from the orange felt and bats from the black felt, and hot glued them onto the bags. Easy peasy.
Treats
Part of the excitement in giving these bags was the goodies I put together to fill up the bags each year.
In 2014, I found a bunch of free printable's from multiple sites to attach to mini gifts and snacks to put into the bag. I didn't want to give only candy since there would be a lot the following week from Trick-or-Treating.
Treats before assembled!
Some ideas I used are as follows:
- Halloween pencils for school
- Halloween stickers
- Halloween erasures for school
- "Smell my Feet" - nail polish, mini lotion, and Bath and Body Works hand sanitizer
- Bat masks from Michael's
- "Pumpkin Poo" - cheese balls
- "S'more Spooky Fun" - graham crackers, Hershey bars, and ghost Peep marshmallows
- Cookie mix in a jar and I added instructions on top
- Additional candy - just a little!
In 2015 I used less printables and picked up some things from Michael's, Wal-Mart, and Target to add to the bags like Halloween bows, hair ties, jewelry, and Lokai bracelets.
I also set up a fun little game using a black Halloween tree and mini pumpkins and mini cauldrons. Each pumpkin had either a funny Halloween joke or riddle, or a number on it to be able to draw small gifts from a bag like black and orange beads, face masks, books, socks, etc.
In 2016, I picked up Halloween socks, melting beads, gifts, Harry Potter brooms (Nimbus ?), Halloween hand sanitizer, and candy from the Chocolate Bar. My gifts had to evolve as the recipient's ages got older!
You can find most of this above and more ideas on my Halloween Pinterest page. Have you ever made Halloween trick-or-treating bags? I'd love to see them and hear what you did differently. I won't be making any this year, but look forward to dabbling in the fun in the years to come.
XOXO


